Shed Kits
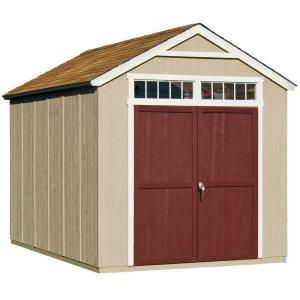
Sheds and shed kits, such as you can find at Home Depot and Lowe’s, Tuff Shed, and Handy-Home, are the cheapest way to throw up quick shelter while building something more durable for long-term housing. You can find a Wooden shed KIT of ~96 square feet for as little as $1,200 and up (often without floor, but has floor frame so you buy the OSB or plywood and cut it to fit).
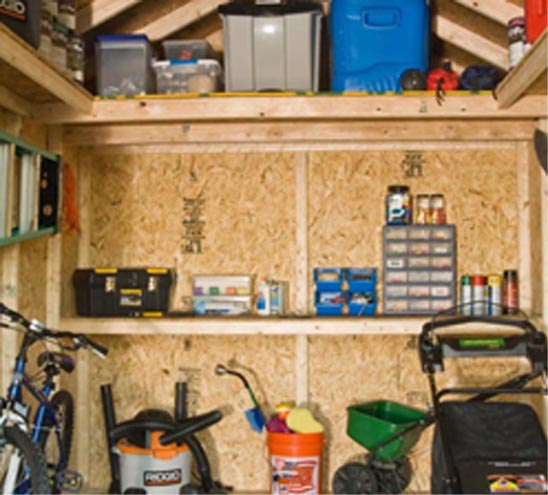
You will have to buy a few rolls of tar paper, 5 bundles of shingles, along with your floor, plus some form of foundation, and hardware, so figure on extra costs for these items plus insulation and drywall if you plan to finish the interior. The popular version of Majestic (above) comes with floor and shingles plus interior shelves and lofts (to the right), and its cost is $2600 at Home Depot.
In most cases, something as small as 100sf may not require any permits, but CHECK FIRST with your local county Building Department for permitting details. Follow permit stipulations from the get-go because if you build something NOT up to code, you may have to tear it down later, so DO IT RIGHT THE FIRST TIME!
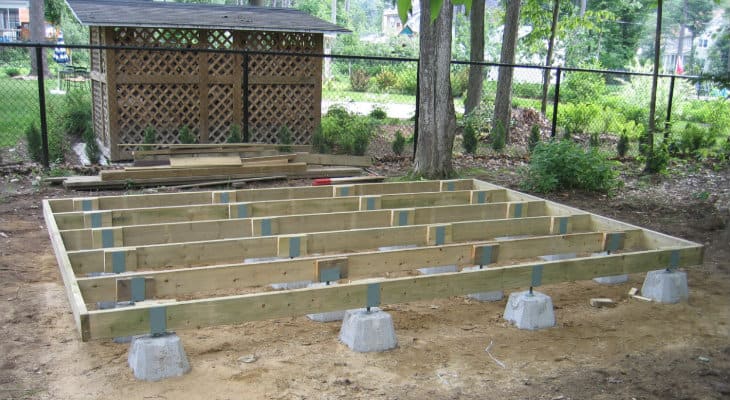
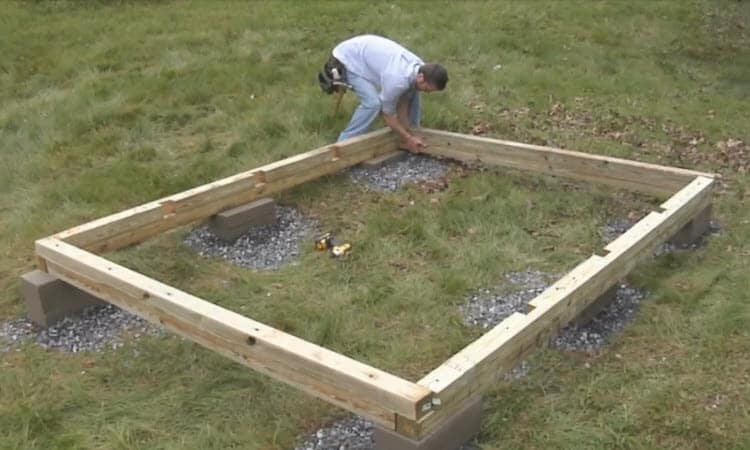
You can set up a small shed on cement blocks (top left) or a level 4″ to 6″ gravel base at least 12″ wider all around than your floor, with an outer trench filled in with larger stones for drainage (not shown), or you can use deck blocks (above) for a small shed (all depending on local permitting). But the cheapest way to support your shed is with pressure-treated 4×4 or 6×6 skids the length of your building with ends cut up diagonally like skies for sliding. Skids (set in a 12″ trough filled about half way with pea gravel) can offer the added advantage of making your small building “portable” in that it can then be lifted onto a flatbed with a fork lift (depending on size and weight). Sometimes this “portable feature” can mean you do not need permits, but be sure to check, because in some other locales, “portability” (including Tiny Houses on Wheels) are not allowed at all. Skids will probably require some anchoring, so look into that as you consider multiple foundation options depending on your purpose, budget, terrain, available materials, etc. And be sure of your dimensions – which should include identical lengths measured from corner to corner of your floor.
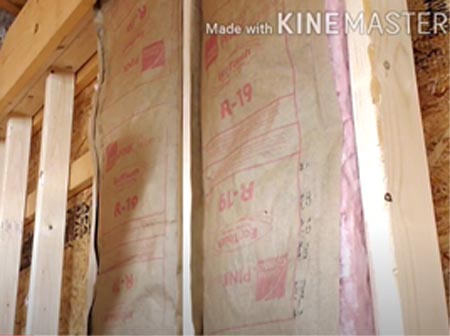
Your shed will generally be made of 2×4’s and will have no insulation, so if you need insulation, you can buy R-13, R-19 (or higher) fiberglass, rolled or stacked in bundles of batts of insulation at your local Building Supply Store. You attach the batts with a simple staple gun to the vertical 2×4 wood frame studs, on the sides of the studs and not on the edge the drywall will have to face up against which should be perfectly flat (most fiberglass insulation comes with side flaps for this purpose or it may be “friction fitting”). If you want a finished look, place drywall over your insulation and nail your drywall to the vertical studs. Generally there’s 16″ from stud centers, but occasionally the studs of the building have 24″ from stud center to stud center, so be sure to check before buying insulation. With fiberglass always use tough gloves and be gentle because if you crush the drywall, insulation value plummets. Plaster the drywall if desired and paint to finish off the interior, exterior, and trim.
Adding a window will complicate things alot but if you want to use your structure as a garden or tool shed once your main building is complete, you may not want any windows, although some light is always helpful.
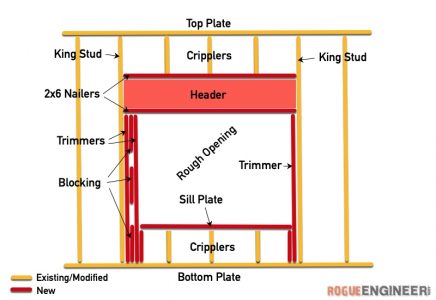
If you DO want to add a window, either buy a kit that has windows in the design, or study construction manuals for how to frame-in an old recycled window you found somewhere (or a new one) and seal it well.
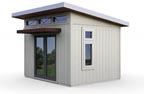
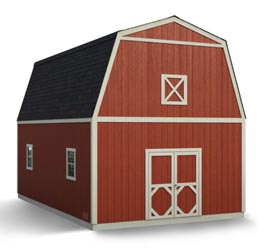
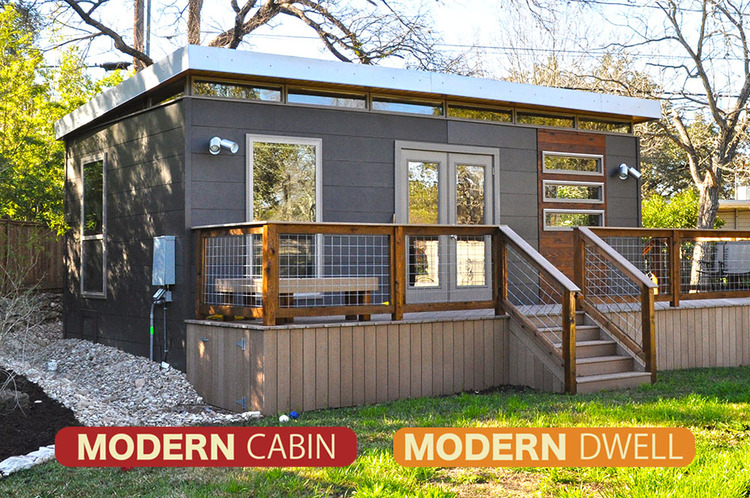
Let’s compare these 2 shed choices from Heartland. One is a 120sf “cutie” of a home office (right) for about $12K, which would be ideal in an urban or suburban town, and looks both modern and quite solid, but very small. Now compare that to the country-looking 2-story red High Barn with stairs and loft included (above left). It has a 256sf ground floor (16′ x 16′) and ~128sf 2nd story loft (I think) for about $15K! Yet your space is now 384sf, or 3 times that of the studio office for only $3K more. The taller building will be harder to build and may require scaffolding, tall ladders or a crane so there will be additional costs to consider, and it will require alot more insulation and paint, but for square footage, the High Barn looks like a deal if you need to set it up to live in full time, aesthetics aside.
So when picking out a shed kit or a live-in cabin kit, you will have to consider permits, your skill level or that of helpful friends, available space, a mostly flat location, be sure not to shade out your garden areas or flowering trees, consider your design preferences, overall square footage you will need, up-front costs, and then follow-up costs. Then there’s the hundred details you haven’t even thought of yet. Good Luck!
There are lots of videos on YouTube about Building ANYTHING! Here’s how to build a skid floor for an 8’x12′ shed as video #1 and Chris goes on with 8 other videos to construct an entire shed from scratch. If it engenders confidence while saving you money, try it out yourself!
Also consider a cabin plan (or personal design) where you build one room at a time as money allows. You can sleep and store sensitive tools as well in a locked room while building more as your budget allows. If you build 4 rooms this way and they are each 8×12, you will have ~384sf. Add an entry foyer (and front porch when you can) and you can reach 400sf livable space, pretty much the smallest really functional and comfortable space for a full-time live-in “Tiny Home” (by definition, under 400sf). Even just 2 such rooms may be enough for you, but four equal 12’x12′ sections (or get more creative by altering your design parameters) will give you a 576sf space, a more luxurious small home with full bath, large bedroom, ample kitchen and living room, plus closets and walls worked in to suit your lifestyle. (You may decide on a temporary roof until you have finished all sections.)
Another idea is to build the 2 back rooms this way and then construct a slant roof or a pitched hip roof over the finished side and the unfinished side with the roof supported by poles as a huge porch that can later accommodate more rooms under it, or a screened in section, etc.

River Cabin built from plans 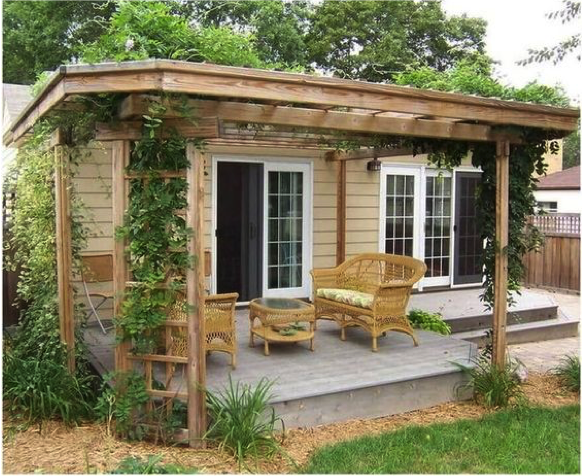
Cabin with patio 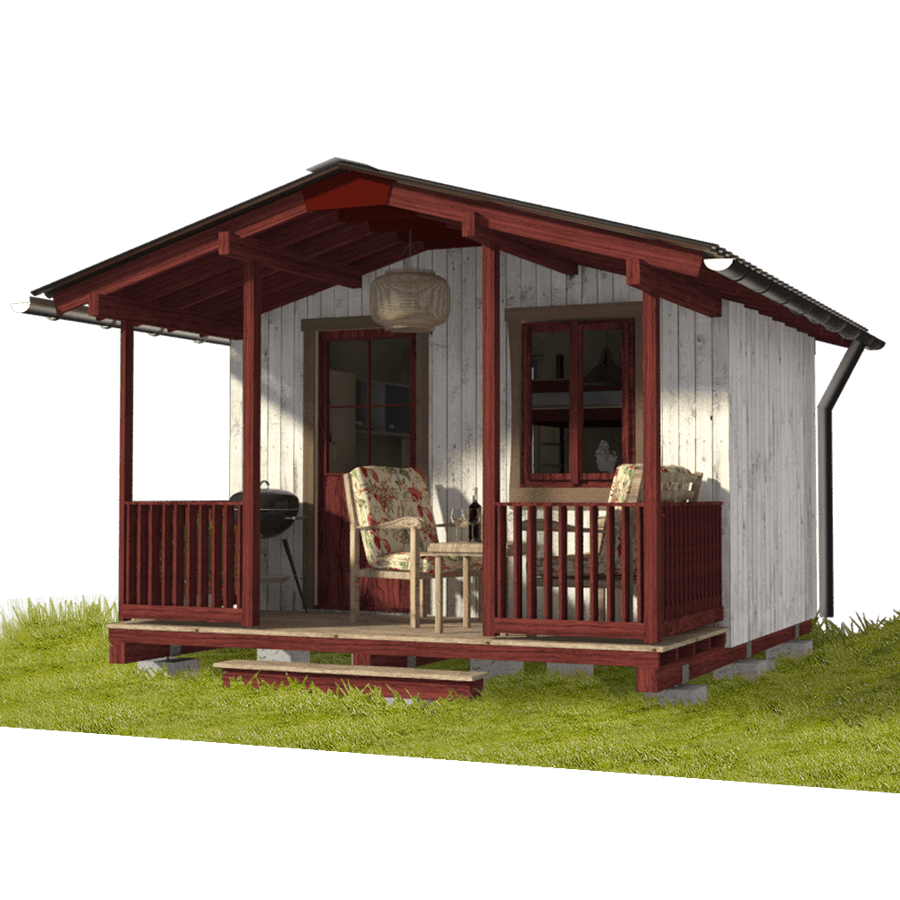
Campground Cabin
Such projects are exciting to contemplate and sketch out, but can be a bit daunting to actually undertake without expert help. Can you do it? If hesitancy is your answer, I recommend a KIT which has both instructions (often frustrating however) and the pre-cut pieces you’ll need, which is very helpful if you lack a full woodworking workshop, a ton of expensive tools, and, of course, the expertise. Or you may want your first project to be to construct your woodworking workshop and acquire the tools you will need.